…by the truckload. Last year I canned 300 pounds of applesauce. No I didn’t mean 30, I meant three hundred. Wanna know how much we have left? After today, 3 quarts. What in the world do we do with it all? Well, the boys eat it, literally, by the quart. Once I open one, it’s gone within 30 minutes. I also sub oil and butter out all the time for applesauce in baking and pancakes.
So we had all those apples from apple picking on Saturday but after we ate a lot and I made an apple pie, it only made 6 quarts, which, if we are lucky, would last us to Thanksgiving. Don’t worry, I have 35 pounds coming to me on Saturday 🙂
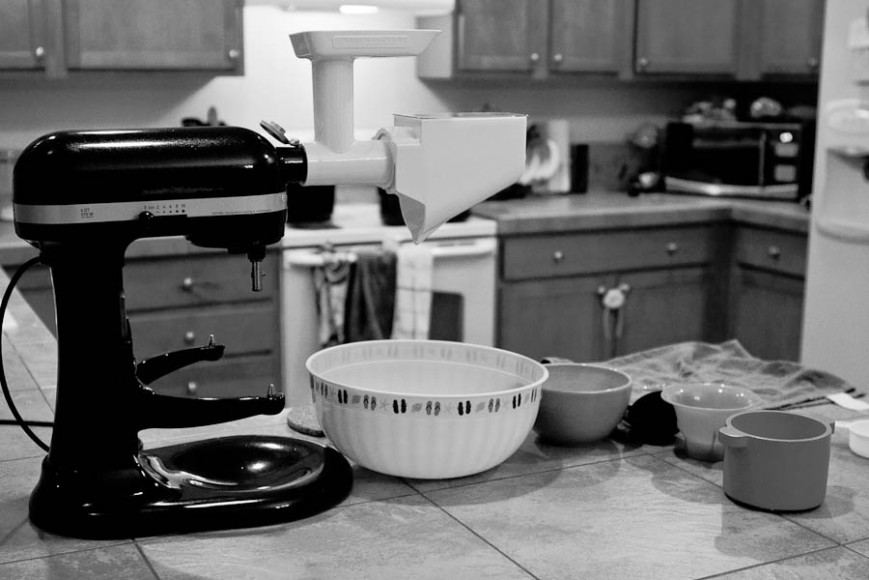
Okay, so this is the setup.
Starting from the left we have my Kitchenaid Pro 600 with the meat grinder attachment and the fruit and veggie strainer attachment. You need to buy both of them in order to strain. Under the strainer is my sauce bowl and the little bowl next to that one is what I like to call the “apple poop” bowl.
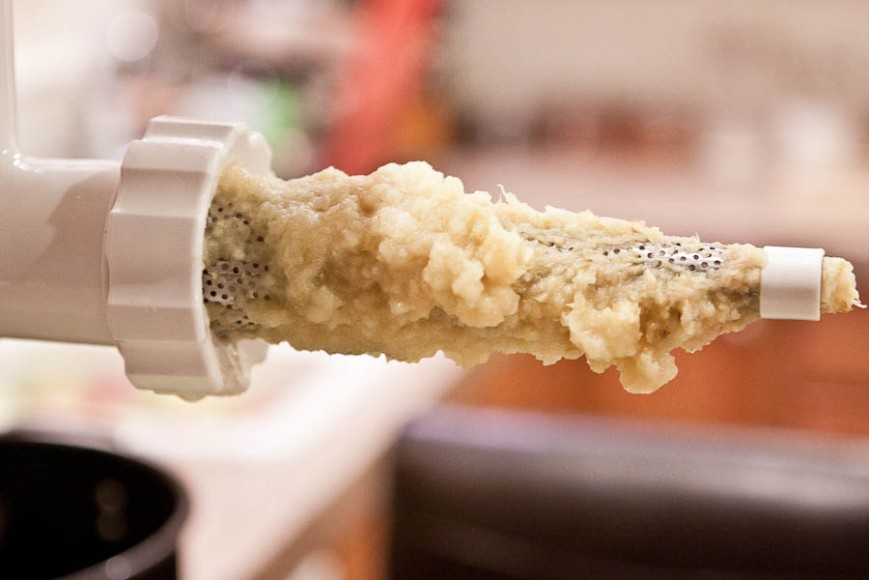
This is what the strainer looks like
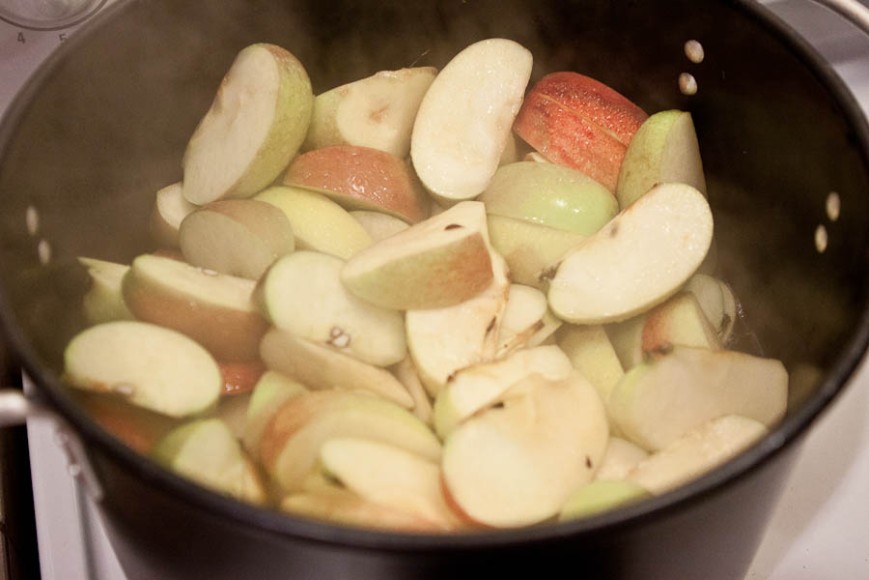
So eighth the apples. Don’t core them. Don’t seed them. Don’t peel them. If I had to do all that crap stuff, I would never make applesauce. Toss them into a huge pot and put enough water in the bottom to prevent sticking, like an inch. Cover and set the burner to medium to medium high. Let the apple steam until they are starting to turn a warm yellow/brown color and they are very tender. It never fails that I am to anxious and start straining the first batch of the season with rock hard apples, which is a total pain the butt and very frustrating.
Done and nice and mushy
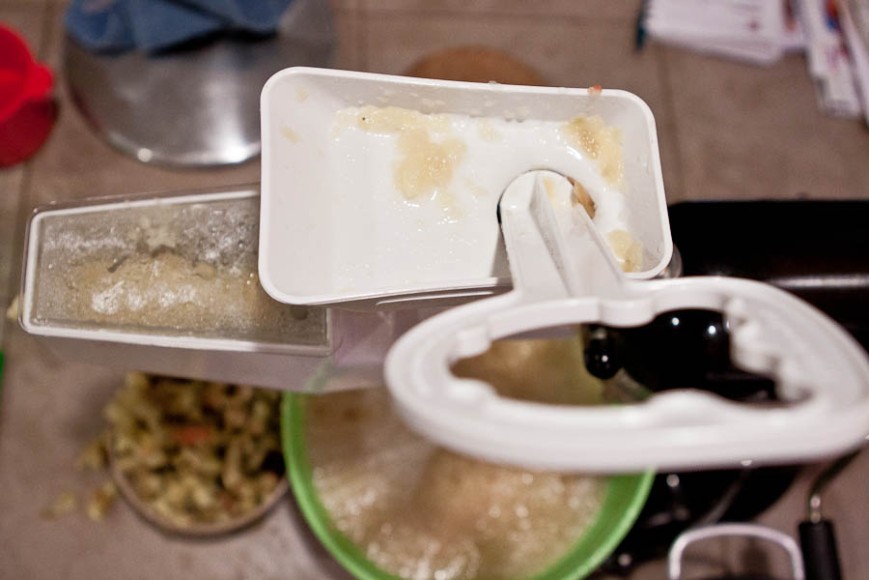
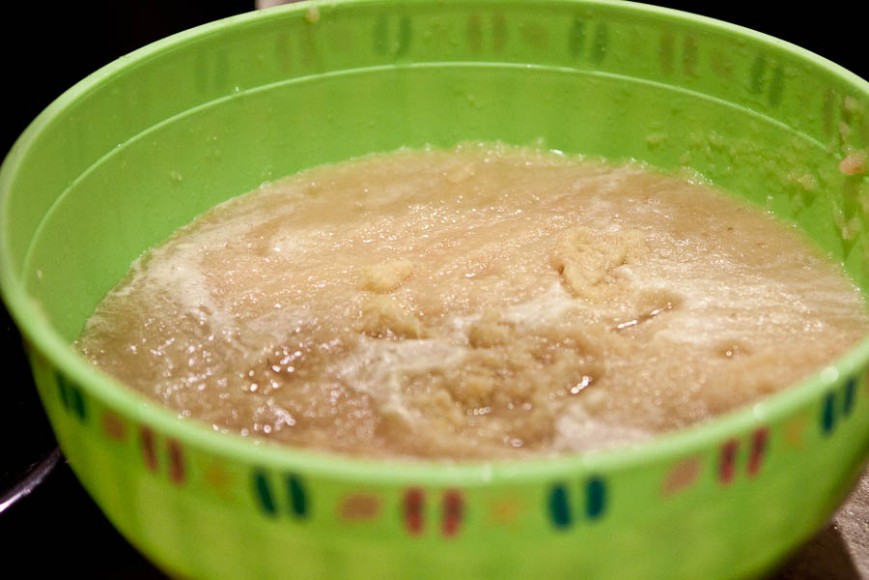
Start ladling them into the hopper with a slotted spoon and plunge them down into the strainer. They should go down EASILY. If they don’t, you are about to learn your lesson 🙂 If you look down below, you’ll see the green bowl of piping hot sauce and on the left the bowl of apple poop, which is just the peel and seeds.
Nice and freshly strained applesauce
Nice big bowl of it ready to be canned. You will not need to heat it up on the stove before filling your hot and clean jars with it. It is extremely hot. I dropped some on my foot and I have a burn mark, so don’t worry, it’s really hot straight from the strainer.
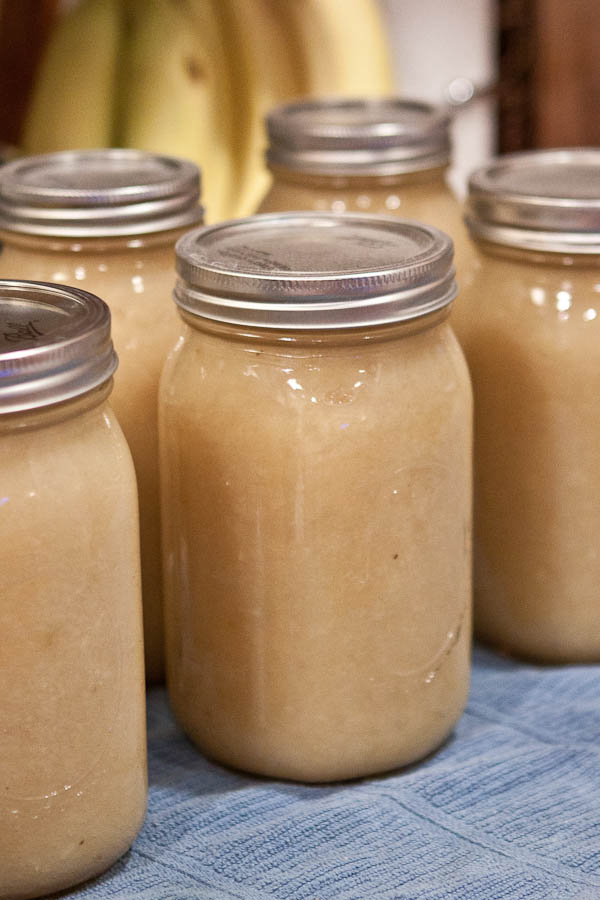
Ladle it onto hot and clean jars, place lids, screw bands on and process pints and quarts for 20 minutes.
